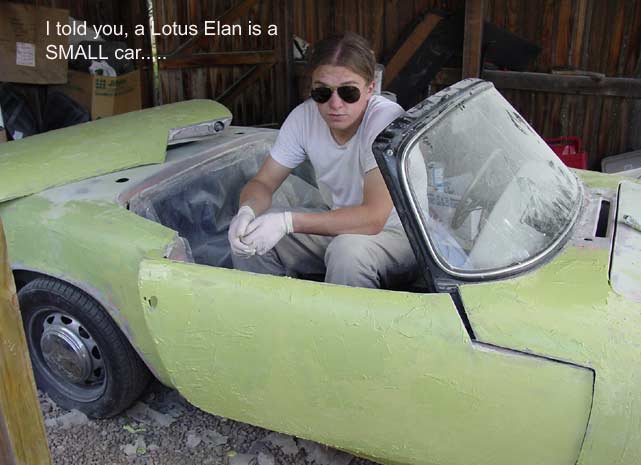
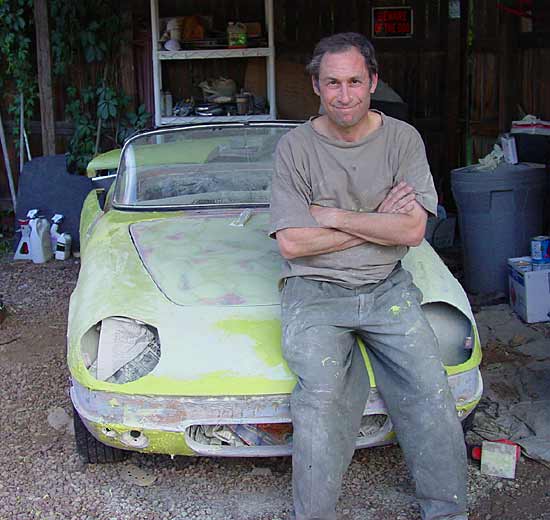
The biggest job was first removing ALL of the 40 year old paint from the car-- this was the first re-paint of this car, and the old paint from the factory was soft enamel. The new paint available is far superior hard-as-nails acrylic urethane, but it is not wisely painted over the original stuff.
Once we started removing the paint, you could see the various layers of materials, and the stress cracks in the fiberglass- all which had to be fixed.
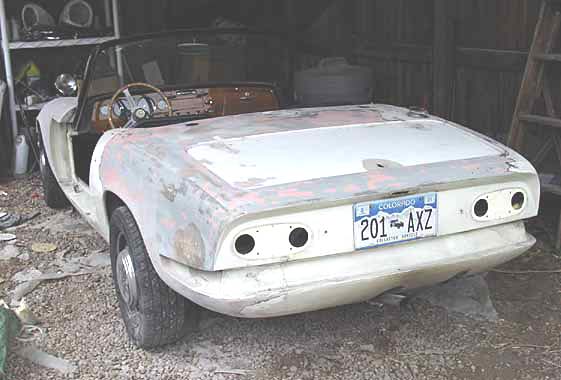
The original owner only drove this car 9,000 miles, 25 years before I obtained
it, and most of those driving to the country club and back. See those star cracks in the back fenders below? Golf clubs in the "boot".
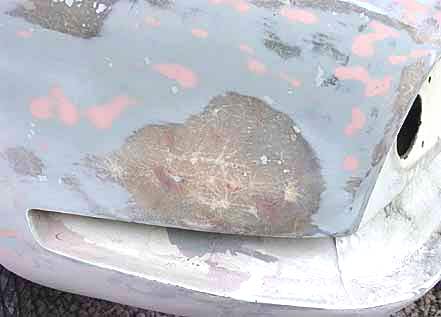
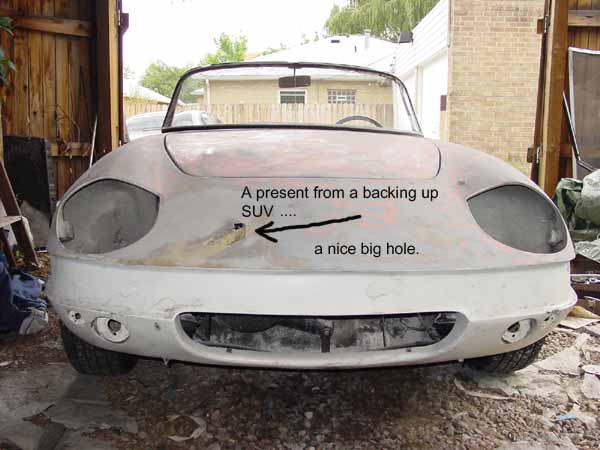
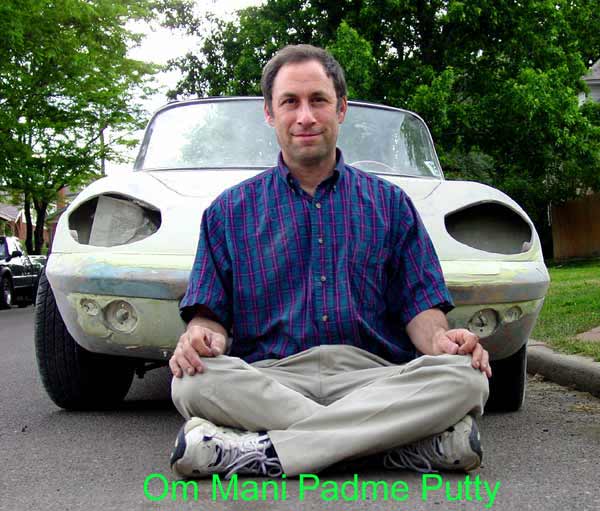
Removing the paint was HELL. Even with your frontal lobes on full blast. It took forever. But we made it out alive.
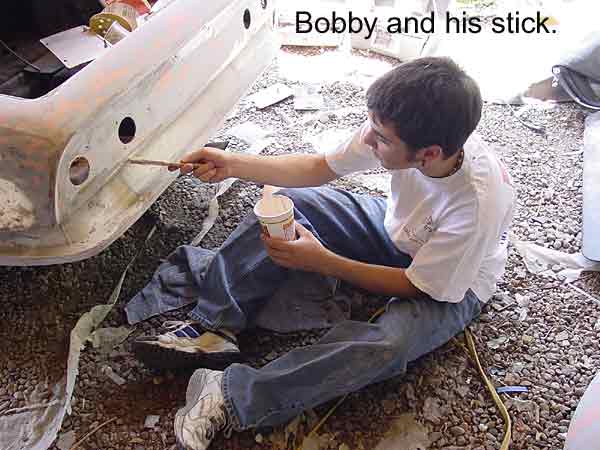
We hired two Creatures From The Black Lagoon to help. Two per light pod.

Once the old paint was off - the cracks in the fiberglass is fixed with avocado green goop, known as body putty. I used FOUR GALLONS of this stuff on this cracker jack box sized car.
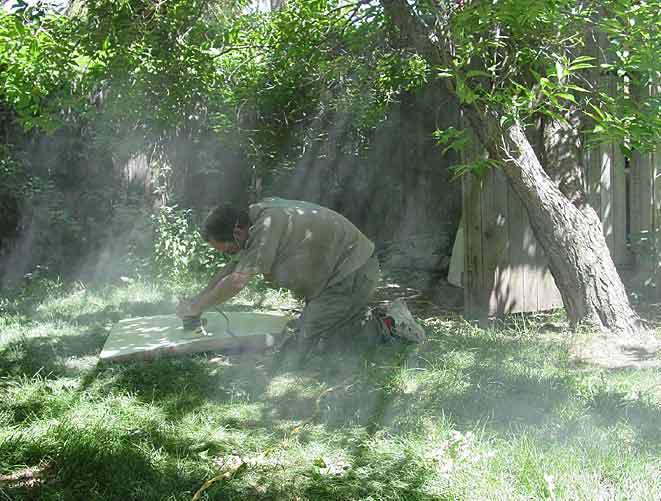
Once you cover the ENTIRE car with this stuff- you then have to SAND THE ENTIRE CAR SMOOTH AGAIN.
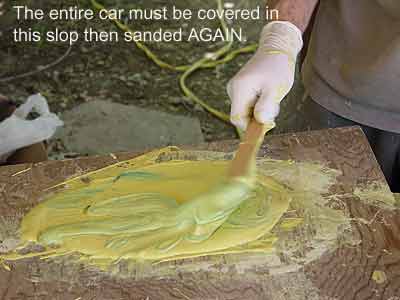
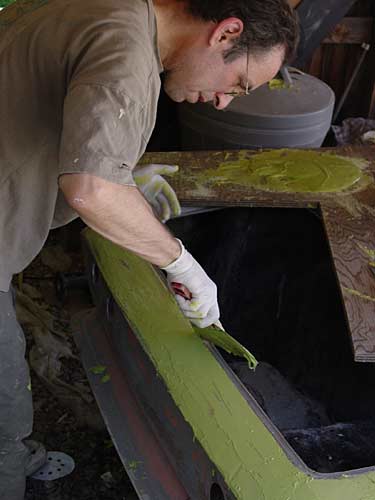
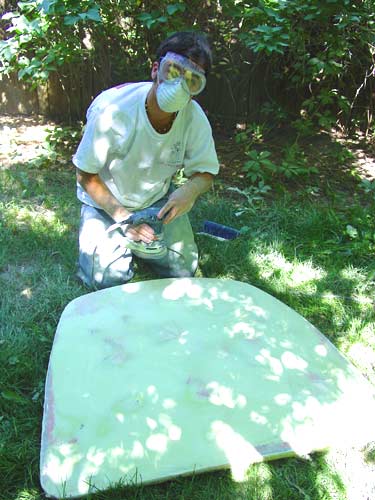
By the time the car was completely sanded smooth again, four gallons of body putty was reduced down to two ounces on the car, and the rest was dust that saturated our yard, and the rest of the block. (Photo below by Weston Wells).
My sincere condolences to the neighbors.
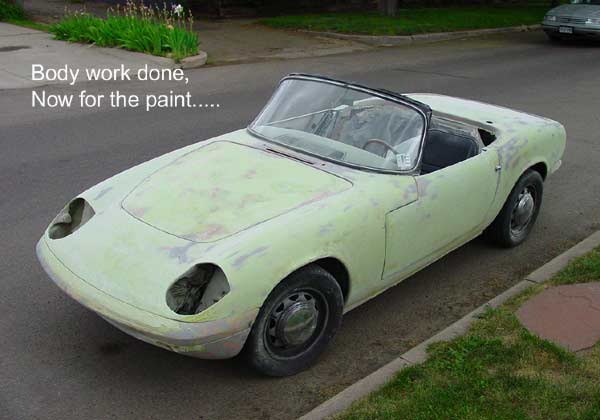
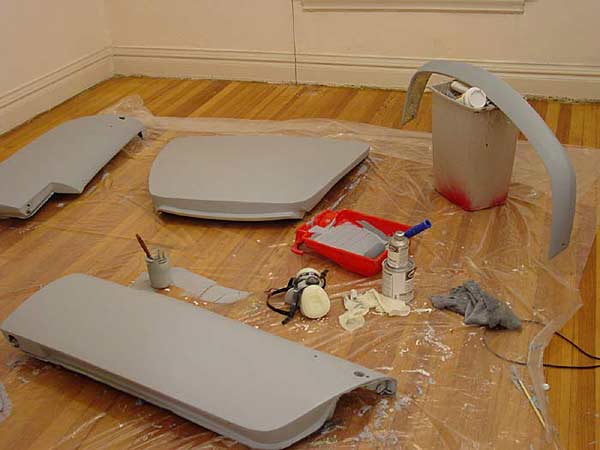
The first coat of paint you put on isn't actually the pretty stuff you see, it's this flat gray PRIMER coat, which is kind of like glue between your car body and the nice pretty paint.
Thanks to modern technology, you can now roll this stuff on with a roller and do it in your living room if its raining outside
(as it was here). Generally I do not recommend roll-on primer except in
rare cases and in hard to reach spots that you can just NOT get either an HVLP
gun or a Preval sprayer into. Roll-on primer requires far more sanding than
primer you spray on.
However, as here, in the case you've decided to roll on
primer indoors, (I can hardly imagine anyone else trying this) make sure you have your gas mask on, all the windows and doors open, the fans on, and the air filters running. And get that stuff back outside the minute it stops raining- because the
fumes are related to Zyklon-B.
(gas chamber pellets) . Bad for brain cells.
Now if you wear a mask, and do this infrequently, no problem.
If you do it regularly, like for a living, you really have to make sure you have
a fresh air system that you use.
Of course, after you apply primer to the whole car, guess what....?
You get to SAND the whole car AGAIN.
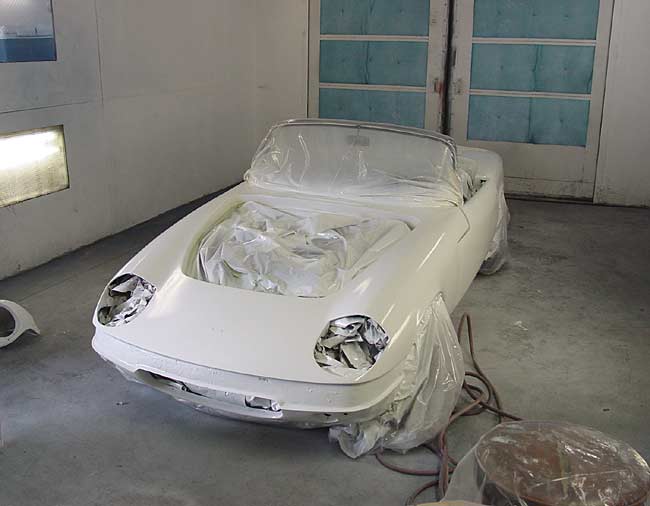
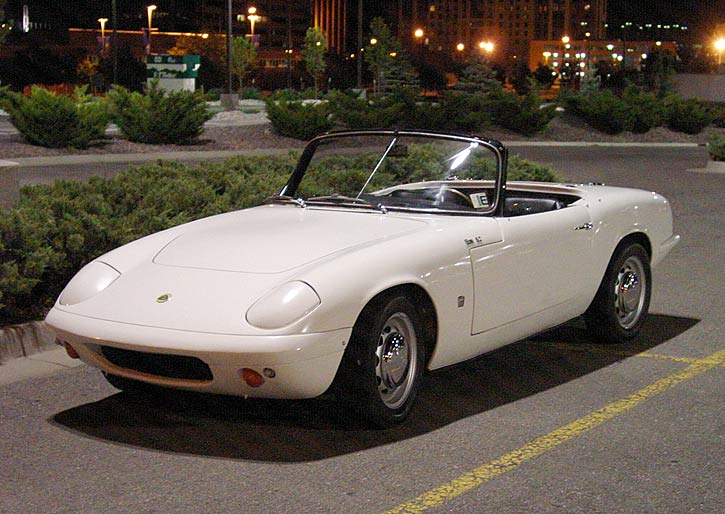
I put on about 5 coats of BRIGHT BRAIN IDEA LIGHTNING WHITE paint, and by that night, I had my shiny new painted car in front of my house. (This new paint dries FAST.)
Here's photos without all the little parts back on.


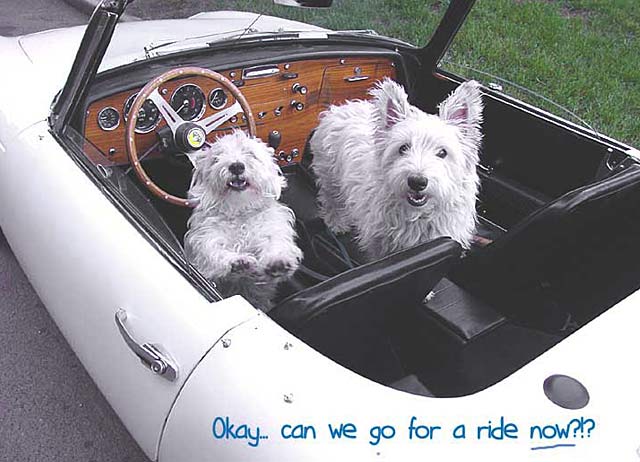
Okay, here it 'tis: The finished "EMMA" starring Chloe (left) and Erfie.
Shown below with its 2nd dashboard of straight grain walnut
from Prestige Autowood having replaced the original fake wood one supplied with
the car.
Note: Elans had always been typically furnished with a real
teak wood dash, however mine arrived- 100% original from the factory,
with a dashboard made inexplicably using fake printed wood,
as you would find on
the tops of vintage folding cafeteria tables.
I suspect that for a time in 1965 the factory was out of teak
left hand drive dashboards and substituted the cheesy fake wood one in its
place.
I tossed it out, but should have kept it as a historical
reference!
In time the replacement dashboard above aged with poor looking coloring
and the 3rd dashboard below was courteously replaced by
the original manufacturer Prestige Autowoods, San Jose, California to replace the
inferior non-burl straight grain walnut 2nd wood dashboard previously supplied by them.
This one was an extraordinary example of burl walnut, being a single non-split piece going the full width of the dash,
extremely rare.
Note the still un-matched and un-tinted upgraded mahogany steering wheel.
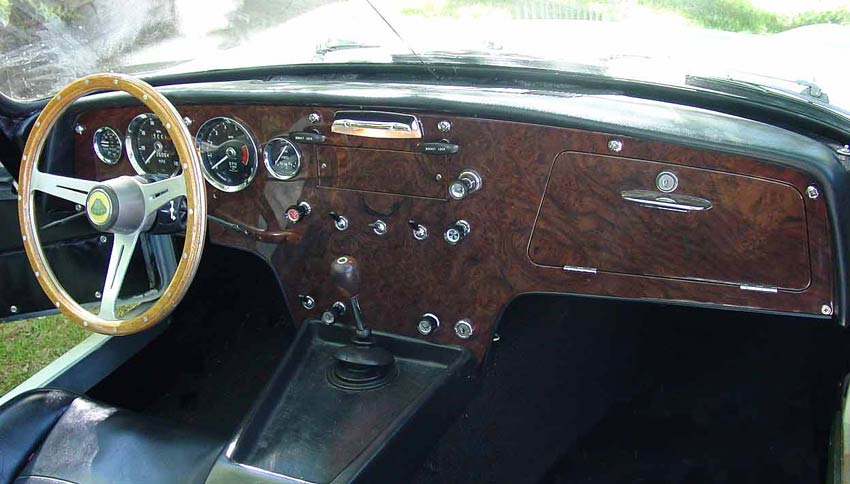
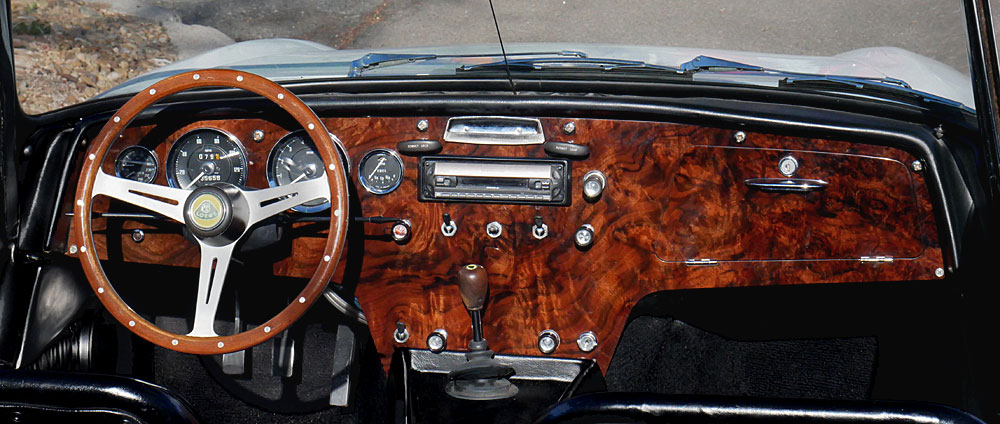
FINALLY in 2019, below, the fourth and final dashboard- and the best
yet- maybe the best dash anywhere- OMG-
supplied by the now closed Prestige Autowood of California
who just with my incredible good luck and odds against coincidence had one
already made
by mistake for another customer who needed a Europa dash not
an Elan dash-- so when I needed it it was already created and ready to go.
This time refinished by yours truly this time using superior clear
acrylic urethane as a top coat instead of inferior Mercedes Benz marine varnish
on the above shown previous dash, which went bad and cracked
after a dozen years.
I also tinted and re-cleared the steering wheel to match
the dash a few years previously.
Genuinely pleased all around at last! Wow- look at that- None
better!
