"How To Paint Your Car"
THE ABSOLUTE BASICS FOR PAINTING A CAR
Brought to you by
The
AMAZING Brain Adventure www.NeilSlade.com 
Learn how to click on amazing parts of your brain as easily as you turn your car ignition.
&
Info Courtesy of Allen Paint, Denver, CO
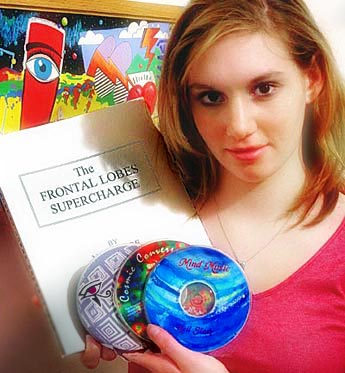 The AMAZING Brain Adventure